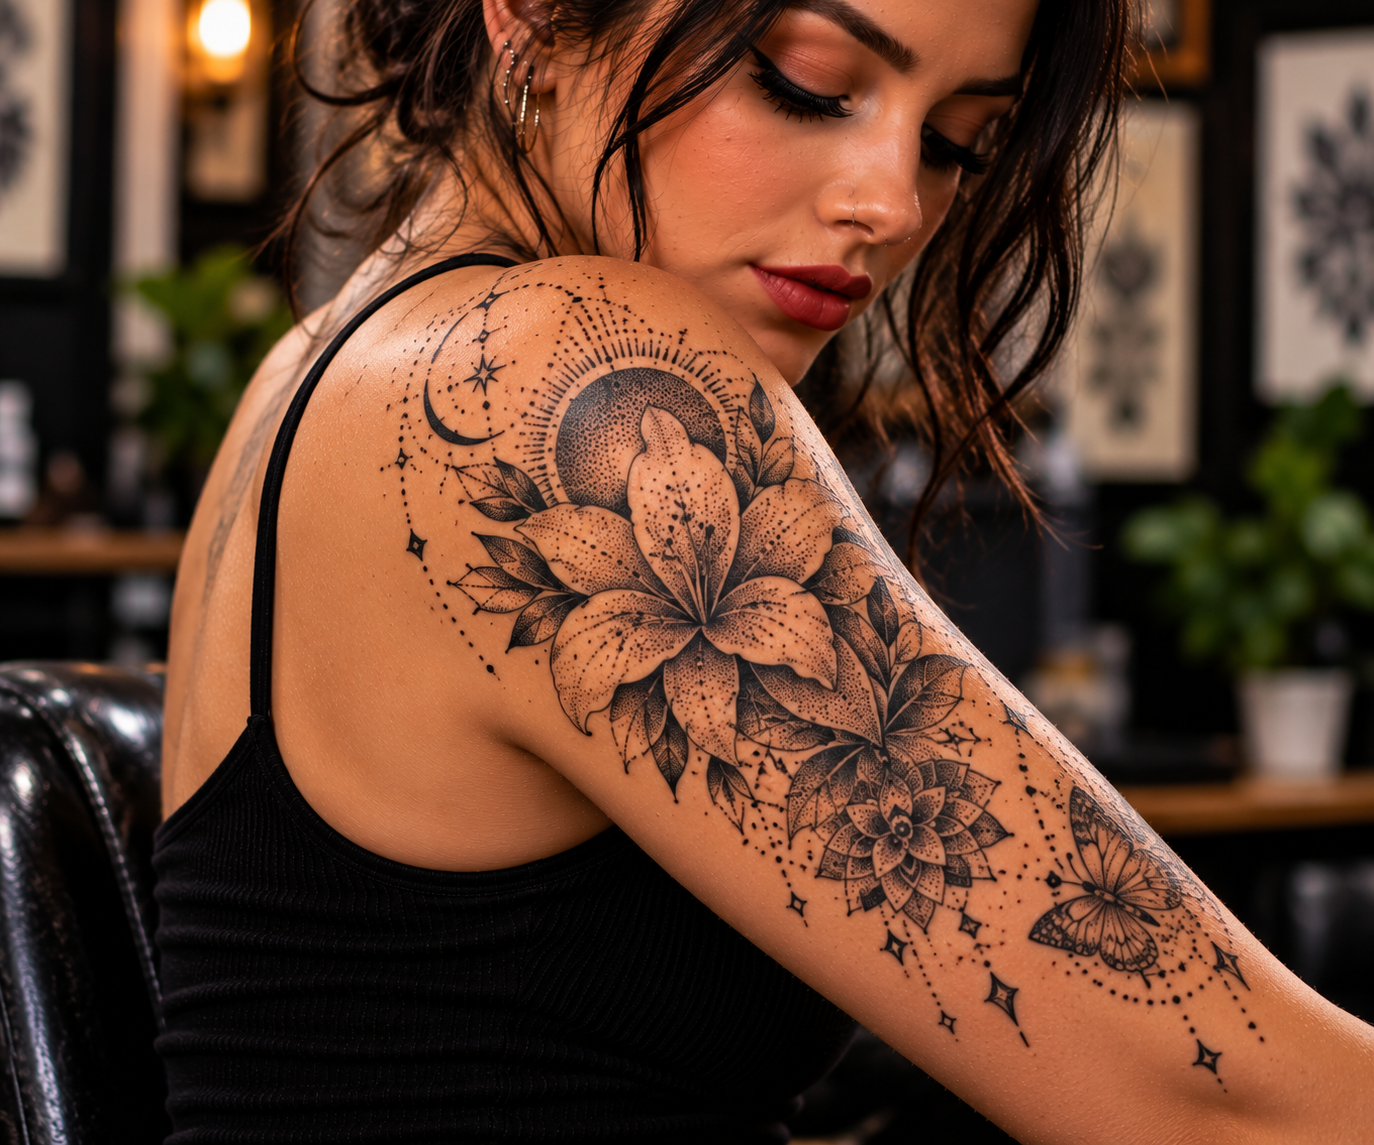
24 Dotwork Tattoo Ideas That Turn Tiny Dots Into Art
Dotwork turns tiny dots into soft shading, bold patterns, and images with a hand-crafted feel. If you’re choosing a design, the ideas ahead range from mandalas to nature-inspired motifs, with options for both subtle and detailed pieces.
Dot spacing and density shape the final look, so size and placement matter. As you browse, consider how each design could suit your body and ask your artist about scale, placement, and their healed dotwork examples.
Watch a dotwork tattoo tutorial for a closer look at the technique, then explore the ideas that follow.
20+ Dotwork Tattoo Ideas That Look Like Art
Dotwork can make a tattoo feel soft, graphic, or richly textured, depending on how closely the artist places each dot. These 24 ideas range from structured geometry to expressive nature and animal designs, with spacing and shading shaping every look.
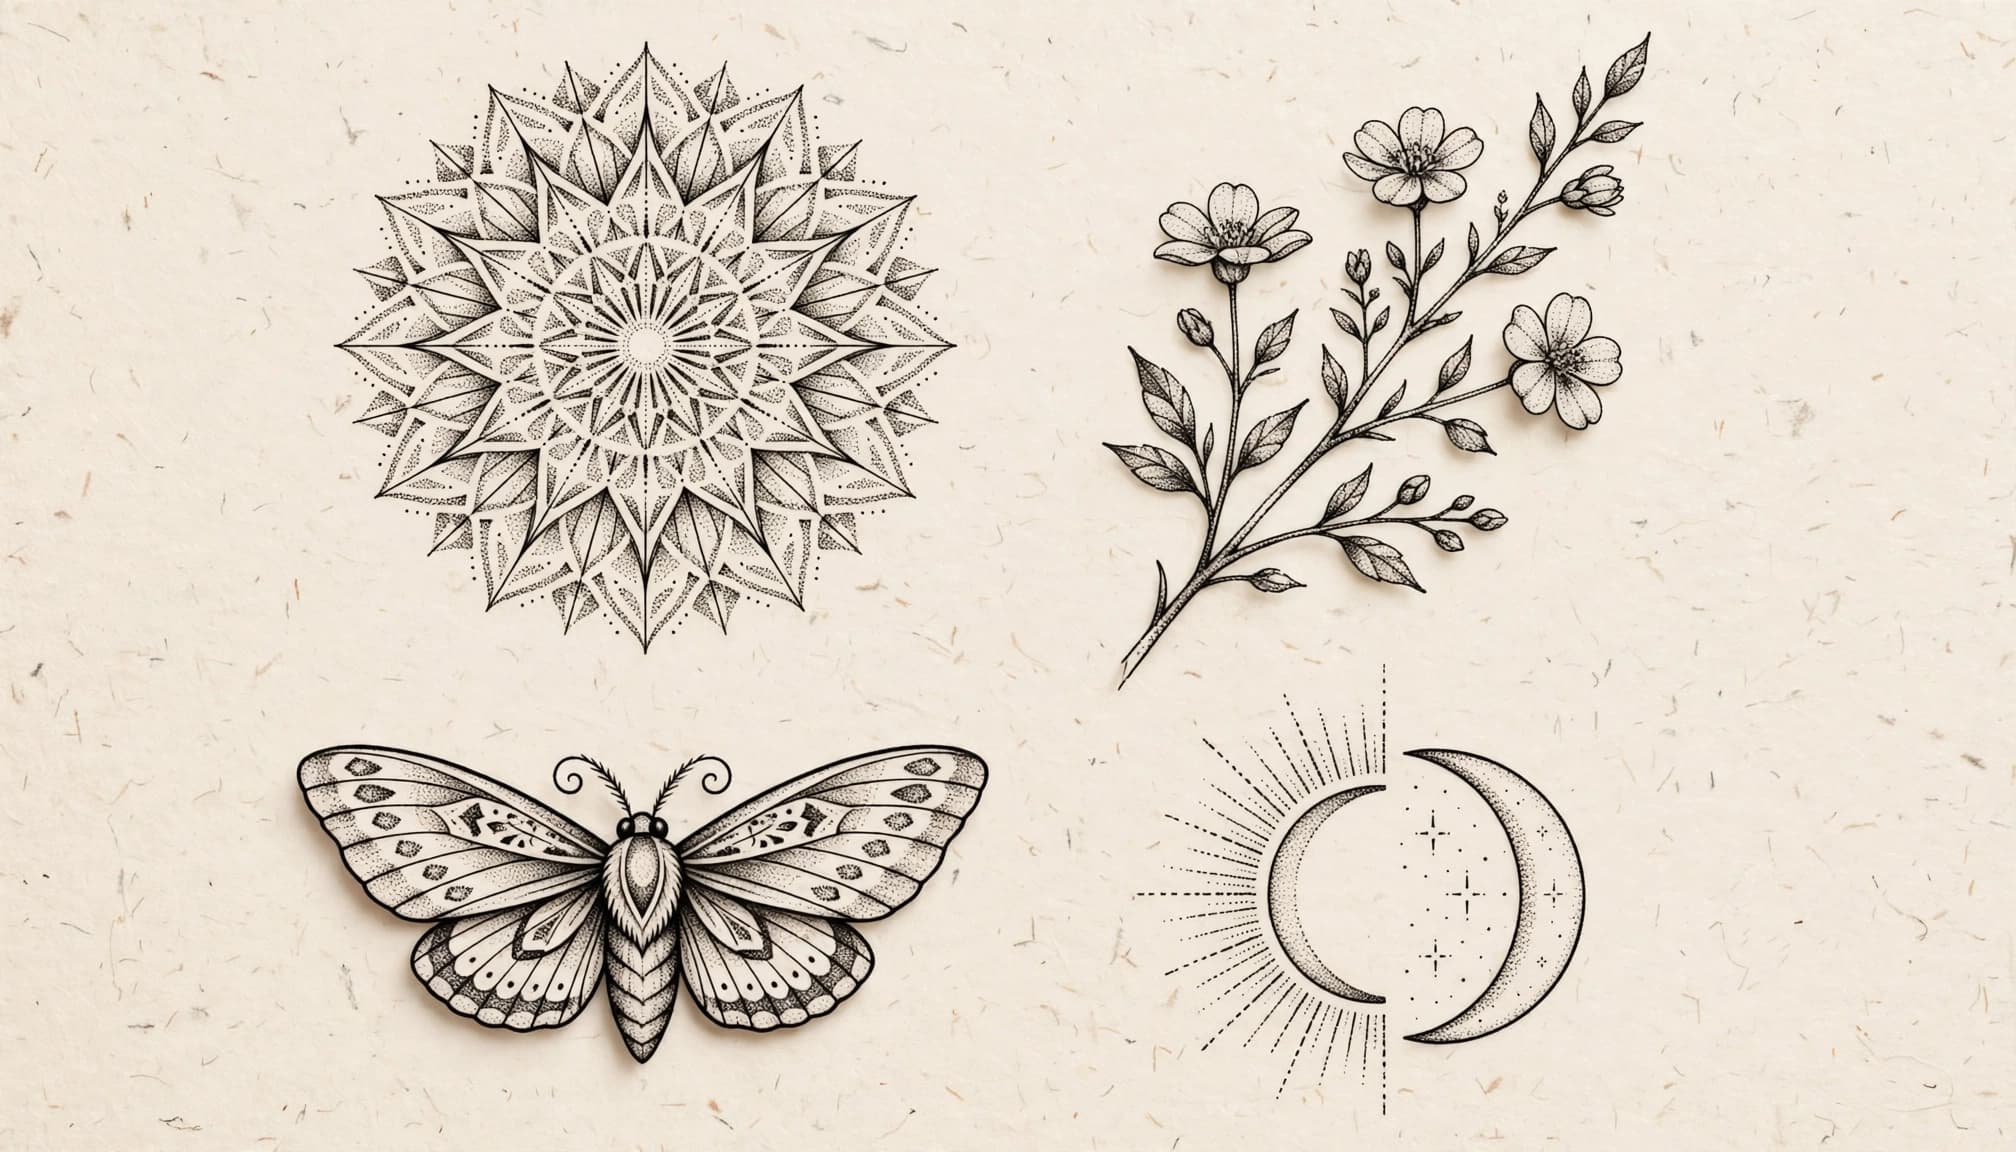
Mandalas, sacred geometry, and ornamental patterns
Geometric designs suit dotwork because repeated marks can build symmetry and shading without filling every area with solid black. Keep cultural context in mind when choosing symbols: tattoo traditions carry distinct meanings, as the worldwide history of tattoos shows.
- A fine-line mandala with dotted shading pairs crisp petals with dots that grow denser toward the center, creating depth without heavy fill.
- A geometric flower uses angular petals around a small central point; open gaps keep the shape clean, while clustered dots add dimension.
- A dotted compass rose places a dark stippled center beneath slender directional points, with sparse dots suggesting a soft halo.
- An ornamental sternum piece follows the chest with mirrored arcs and bead-like dot trails; concentrated shading can anchor its center.
- A filigree band wraps the wrist or upper arm in curling lines and tiny dots, with open skin separating each flourish.
- A balanced sacred-geometry pattern arranges circles and intersecting forms in a measured layout; denser dots emphasize select overlaps. Choose sacred or cultural symbols with care and personal understanding, since their meanings can be specific to their communities.
Flowers, leaves, and other nature-inspired designs
Nature motifs can feel delicate or bold, depending on how the artist handles texture. For fine details, clear gaps between dots help prevent petals, seeds, and veins from blending together.
- A dot-shaded rose uses closely spaced dots beneath folded petals, then lighter stippling at the edges to keep the bloom dimensional.
- A dandelion releasing seeds combines a fine stem with drifting dots; spacing the seeds loosely creates a sense of movement.
- A fern frond fans out narrow leaflets from one curved stem, with sparse dots tracing veins instead of crowding each leaf.
- A mushroom cluster mixes rounded caps and slender stems; dense stippling under the caps adds shadow while open tops stay bright.
- A crescent moon framed by wildflowers balances a dark dotted curve with airy stems, leaving enough skin between petals to preserve their shape.
- A tree with a dotted canopy builds foliage from varied dot clusters, using open pockets to define branches and suggest light.
Animals and expressive portraits built from dots
Animal designs rely on contrast to make small features readable. An artist can use denser dots for shadow and wider spacing for highlights, so the image keeps its form without turning into a solid patch.
- A stippled moth spreads patterned wings around a narrow body; darker dots define the edges, while open sections reveal wing markings.
- A fox portrait focuses on pointed ears and a tapered muzzle, with tight stippling beneath the eyes and along the cheeks.
- An owl with dotted feather detail uses layered arcs across its chest; varied dot density separates feathers without outlining each one heavily.
- A koi fish with a geometric ripple curves the fish around a ring of water, combining shaded scales with open space between ripples.
- A coiled snake forms a compact circle, with dense dots beneath its body and lighter marks along the raised curves.
- A small bird in flight keeps its silhouette simple; sparse dots at the wing tips add texture without obscuring the motion.
Celestial, abstract, and symbolic dotwork
Celestial shapes and abstract marks leave room for personal interpretation. Before settling on a familiar symbol, consider what you want it to mean and how its shading will read at the planned size.
- A sun and moon pairing contrasts a stippled sunburst with a clean crescent, using denser dots on one side for balance.
- A constellation with a dotted halo connects small stars with fine lines, then fades the surrounding dots outward for a gentle glow.
- An orbiting-planet design places dotted rings around simple planet circles; open gaps help each orbit stay distinct.
- A dotted wave sweeps one dark curl into scattered spray, with tight dots in the trough and open highlights along the crest.
- A spiral or abstract burst draws the eye toward a dense center, then releases into widely spaced dots at the edges.
- A heart or eye with stippled shading uses a clean outline and gradual dotwork beneath its curves; open skin preserves its focal shape.
For a custom design, personalize the symbol or composition rather than copying a reference without context. Ask your artist to show how the dot spacing and contrast will work at the size you want.
Choose a dotwork style that fits your taste
Dotwork can look delicate, bold, geometric, ornamental, or realistic. The style depends on how your artist balances dot spacing, contrast, and outlines. Before choosing a motif, decide what mood you want and how much detail you’d like to see in the finished tattoo.
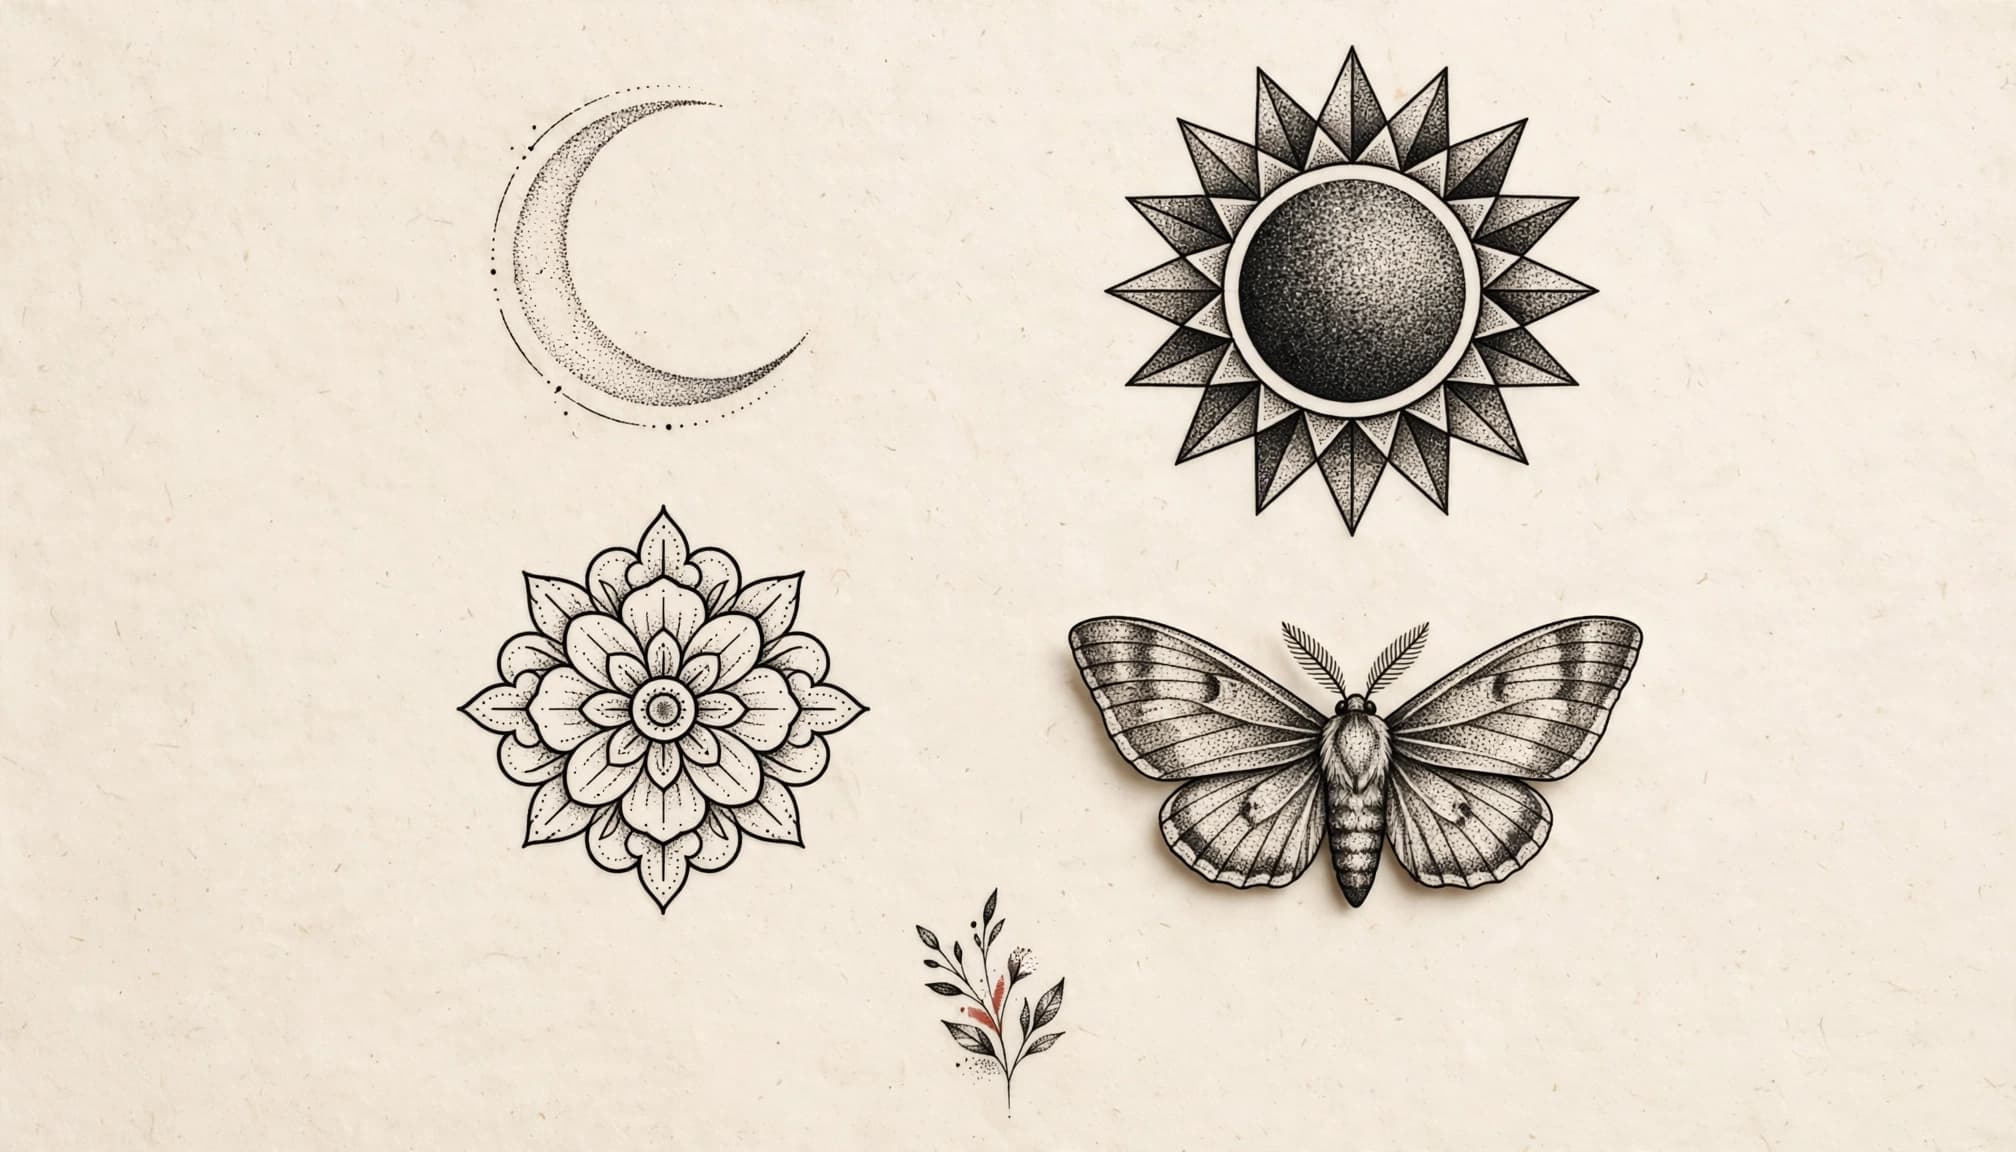
Sparse dots and open skin create a light, delicate feel, while tightly packed dots form darker shadows and stronger contrast. Geometric and ornamental designs often pair dot shading with crisp outlines for structure. Realistic motifs may use softer transitions and varied dot density to suggest texture and depth. For a closer look at how spacing shapes tone, see this guide to dotwork density and aging.
Use dot density and negative space to shape the design
Closely spaced dots create darker areas; wider spacing lets more skin show through, producing lighter shading. Gradual changes between dense and sparse areas can give a design soft transitions, while clear black accents add definition. Your artist can use outlines to contain a shape or leave them out and let the dots define its edges.
Negative space is part of the design, not empty filler. Open areas help separate small details, such as petals or wing patterns, so they remain easy to read. A tiny design may not have enough room for every detail to stay clear as it heals and ages. Ask to see the proposed tattoo at its actual size on your body, and discuss whether simplifying or enlarging it would preserve the look you want.
Make the motif personal without overcrowding it
Start with one main image, then add only a few supporting details. A flower with a small moon or an animal inside a geometric frame can feel personal without turning into a crowded patch of dots. If you prefer a softer mood, keep the shading light and the surrounding skin open. For a bolder look, ask about stronger contrast and more defined outlines.
You can also choose between black-and-gray work and a small accent of color. Black and gray keep attention on the stippling and shape; a restrained color detail can draw the eye to one part of the design. Share the story, reference, or feeling behind your idea, then let your tattoo artist build an original composition around it. That gives them room to make the design fit your taste while keeping its details clear.
Find a placement that gives dotwork room to shine
Placement affects how clearly a dotwork tattoo reads and how it changes with daily wear. A larger, flatter area gives intricate dots more room to stay distinct, while curves and moving skin can alter the design’s shape. Consider the motif, your body, and your routine together before choosing a spot.
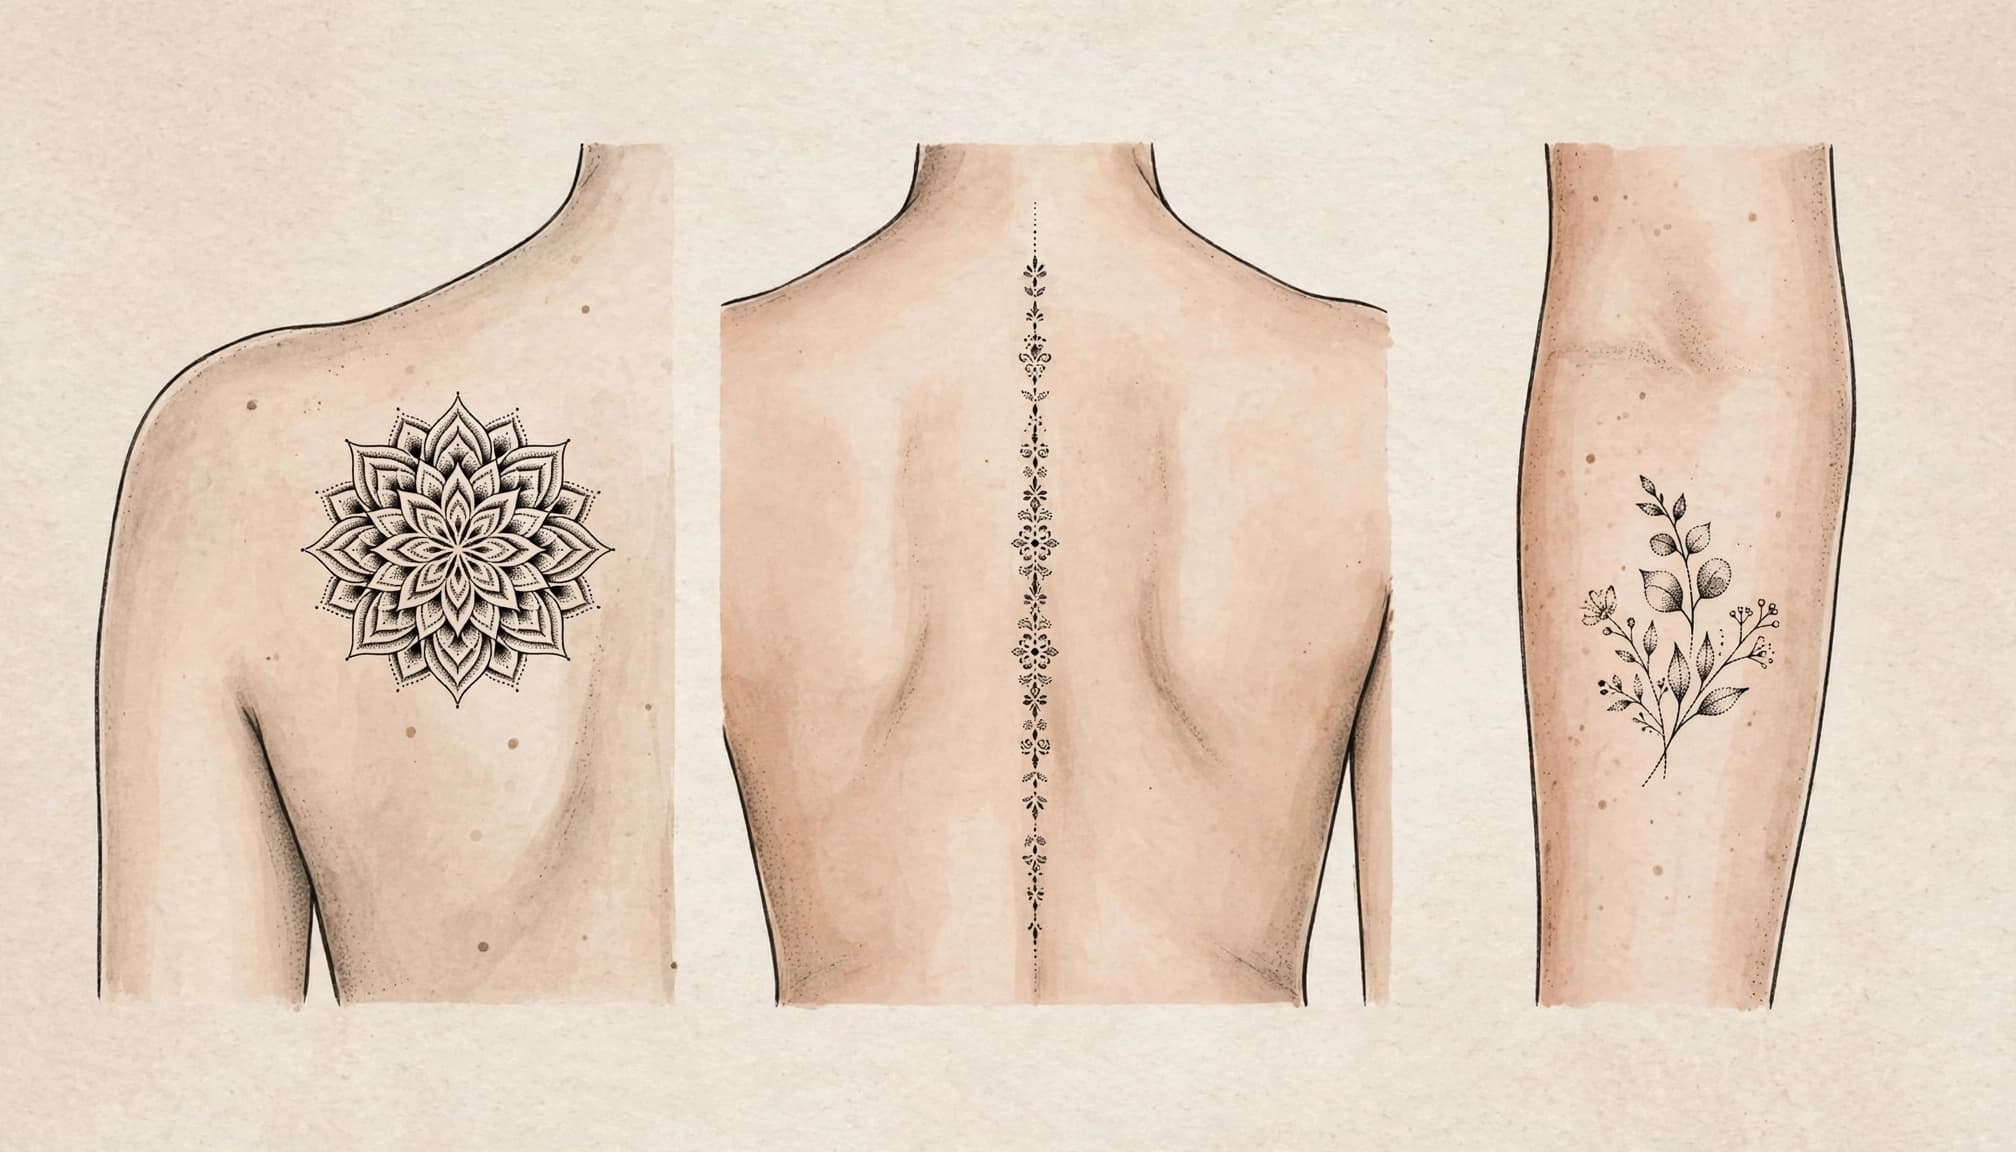
Match the design shape to the body area
Start with the design’s outline. A round mandala can follow the curve of a shoulder or sit across the upper back, where there is space for balanced petals and shading. Vertical ornaments often suit the sternum or spine because their long shape follows the body’s natural line. Nature and animal designs, such as a fern, moth, or fox, can fit the outer forearm or thigh, where a broader surface gives their details space.
Body shape matters, too. A tattoo that looks symmetrical on paper may stretch or curve differently over a shoulder, rib cage, or hip. Ask your artist to position a stencil while you stand naturally, then check it from several angles. If the design shifts noticeably when you move, the artist can adjust its orientation or choose another placement.
Most importantly, have the design drawn for the area rather than simply shrinking a reference image. Tiny dots and narrow gaps can blur together when a detailed design is reduced too far. A slightly larger version, or one with fewer details, may preserve its contrast and make the image easier to read.
Think about friction, sun, and long-term visibility
Hands, fingers, feet, elbows, and knees get frequent movement, washing, or rubbing from clothing and shoes. As a result, tattoos in these areas may fade or wear unevenly sooner than designs on more protected skin. Sun exposure also matters: arms and legs often spend more time uncovered than the torso, and ultraviolet light can fade tattoo ink.
Your everyday routine can help narrow the options. If your forearms get regular sun at work or during outdoor activities, consider whether you want a visible tattoo there and whether you’ll protect it after it heals. The American Academy of Dermatology recommends broad-spectrum, water-resistant SPF 30 or higher on healed tattoos when they’re exposed to sunlight. During healing, follow your artist’s aftercare advice and keep the fresh tattoo out of direct sun.
Before settling on a spot, tell your artist about your work, typical clothing, exercise, and sun exposure. A placement that stays covered and avoids repeated rubbing may need less day-to-day protection. However, visibility matters as much as durability. Choose a location you’ll be comfortable seeing and showing, then work with your artist to balance access, shape, and long-term care.
Plan a dotwork tattoo that heals and ages well
Dotwork depends on the space between marks. If dots sit too close together, fine details may become harder to distinguish as the tattoo changes over time. A suitable size, clear spacing, skilled application, and consistent sun protection all help preserve the design’s readability.
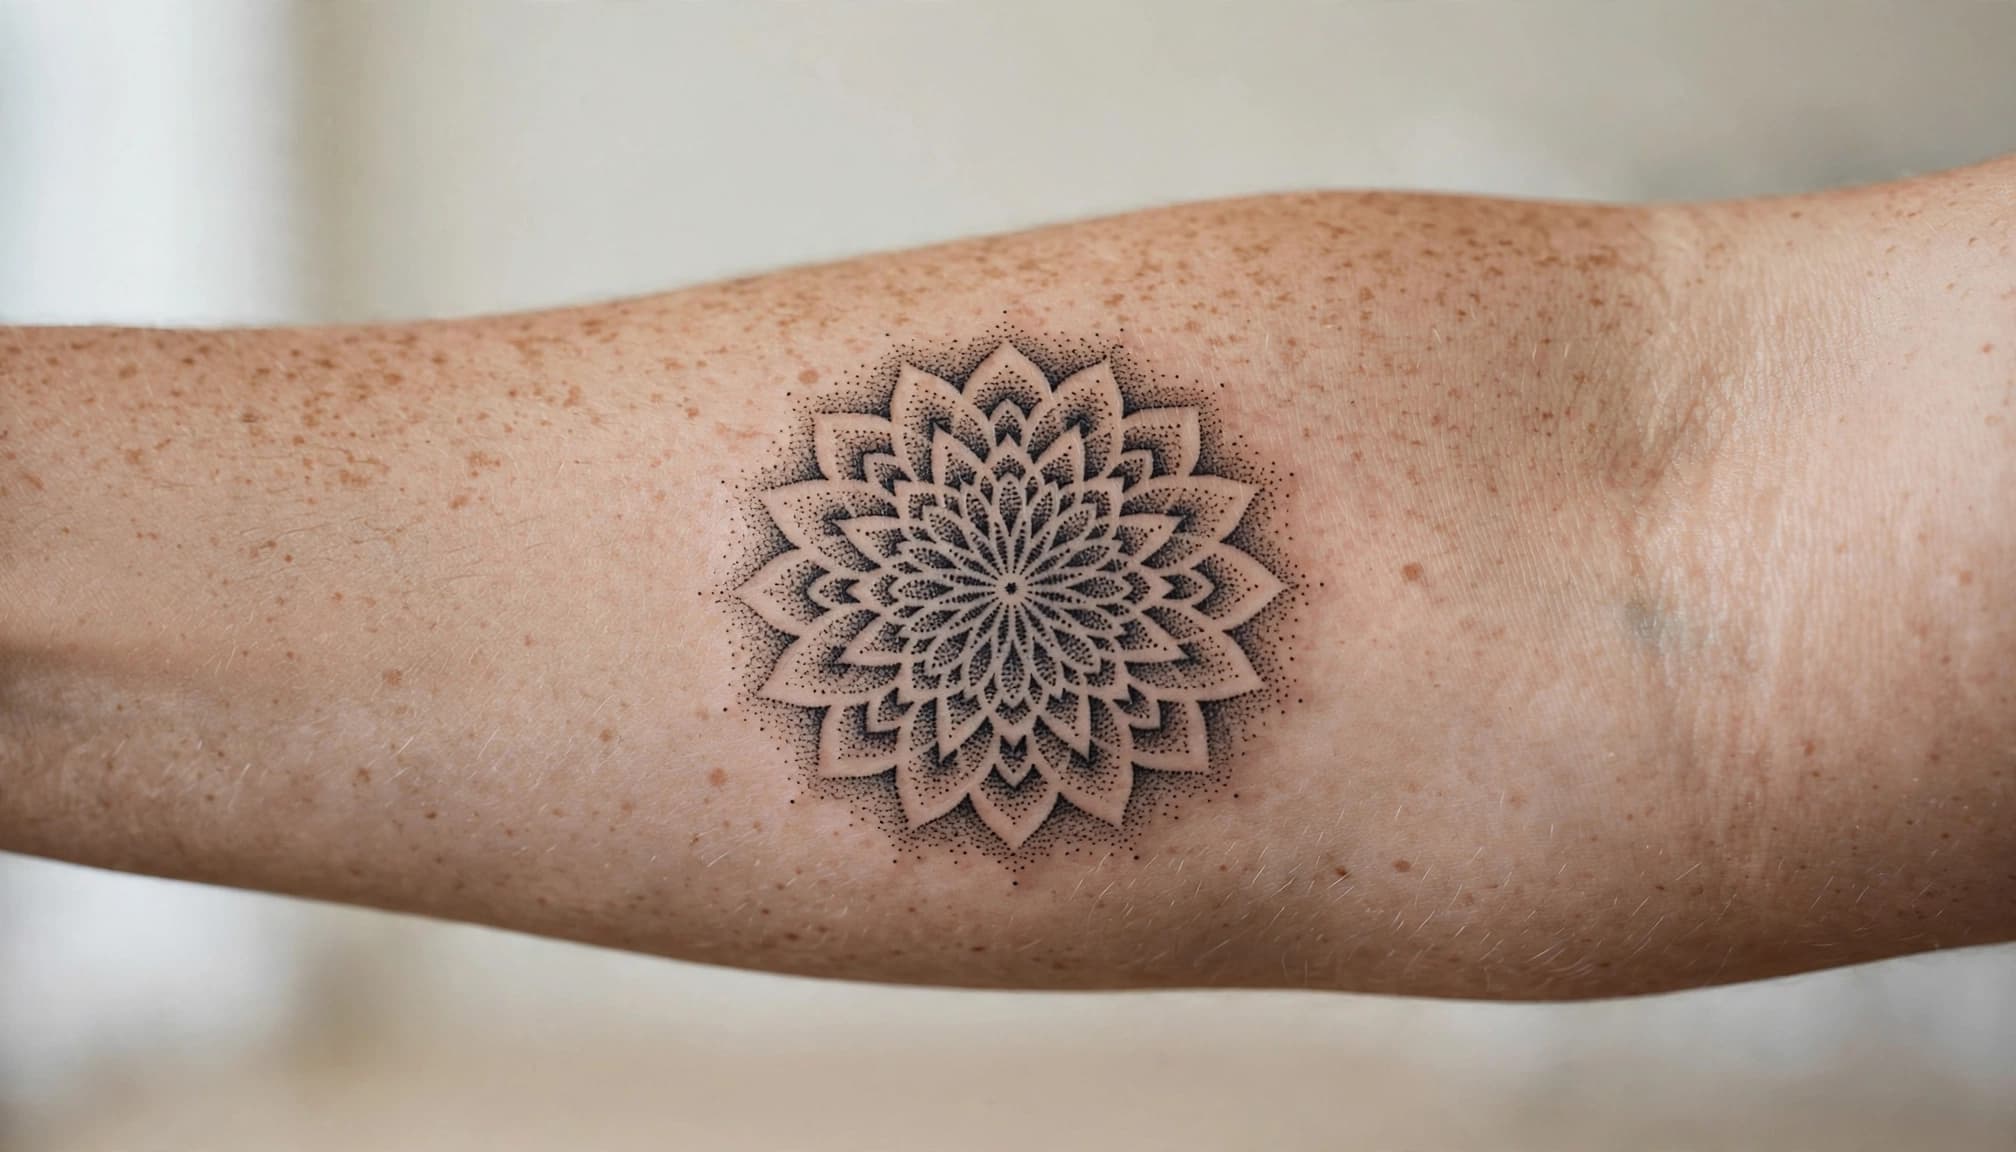
Review an artist’s healed dotwork and ask focused questions
Fresh tattoos can look sharper and darker than healed work, so review healed examples before choosing an artist. Look for clear shapes, even gradients, and open skin between details. Ask how long ago the examples were completed, and compare pieces with a style or scale similar to yours.
Bring reference images to the consultation, along with your preferred placement and approximate size. Use them to explain what you like, not as a design to copy exactly. Your artist should adapt the concept to your body and make sure its details have enough room.
Ask direct questions about the design and process:
- How will you space the dots so shaded areas stay distinct?
- Would a larger size or fewer details help the design read clearly?
- How will you build the shading, and how long might the session take?
- What should I expect if a healed area needs a touch-up?
A confident artist can explain their choices and show relevant healed work. If they cannot discuss dot spacing or recommend a size that suits the design, keep looking.
Follow aftercare and protect the tattoo from the sun
Good application matters, but healing care also affects the finished result. Follow your artist’s instructions for cleaning and moisturizing, since products and bandage guidance can vary. Keep the fresh tattoo clean, avoid picking at peeling skin, and don’t soak it in a pool, hot tub, or bath while it heals. Reduce rubbing from tight clothing and strenuous activity around the area when possible.
While the tattoo is healing, keep it out of direct sun and use clothing or shade for protection. Don’t apply sunscreen until the skin has fully healed. Afterward, the American Academy of Dermatology’s tattooed-skin guidance recommends broad-spectrum, water-resistant SPF 30 or higher on exposed skin. Apply it 15 minutes before going outdoors and reapply at least every two hours.
Once healed, check the tattoo in natural light rather than judging it only from fresh photos. If a spot looks uneven or a detail has softened, ask your artist whether a touch-up makes sense. Choose an experienced artist, plan for clear spacing at a workable size, follow their aftercare directions, and protect healed work from the sun.
Conclusion
Dotwork can turn even a simple motif into detailed art through careful spacing and shading. Whether you favor a mandala, flower, or animal, choose an idea that feels personal, then consider how its scale and placement will keep the design clear.
Before committing, review healed dotwork by the artist you’re considering and choose someone whose work you trust. The right combination of personal meaning, clear spacing, and thoughtful placement gives your tattoo room to read as art.
Save pin for later


- Blackwork Tattoo Ideas for Men: Designs, Placement, and Planning - September 26, 2026
- 20 Tattoo Designs and Where to Place Them for the Best Fit - September 26, 2026
- 10 Line Tattoo Designs and What They Can Symbolize - September 26, 2026
Leave a Reply