
How to Prepare for Your Tattoo Day: A Practical Checklist
A little planning can make tattoo day calmer and more comfortable, even if you’re still unsure what to expect. Before your appointment, check that your skin is in good shape, get enough rest, eat, and drink water.
You’ll also want to know what to wear and bring, then have a plan for caring for your new tattoo afterward. Start with a few simple steps to get ready before you leave for the studio. Watch tattoo-day tips
How to prepare for your tattoo day in the weeks before
A little planning several weeks ahead gives your skin time to recover from irritation and gives you room to resolve appointment questions before tattoo day. You can also avoid last-minute surprises by confirming the studio’s expectations early.
Confirm the design, placement, timing, and studio instructions
Review the design and placement with your artist before the appointment. Ask how the artwork will fit the area and whether the artist expects to make changes during the consultation. If you have questions about size, color, or placement, raise them ahead of time so you’re not making rushed decisions at the studio.
Confirm your appointment time and the expected session length, especially if this is your first tattoo or a larger piece. Then ask about the deposit, what ID to bring, and whether guests can come with you. Studio policies vary, so checking early helps you plan transportation, work, and childcare without guesswork.
Share relevant health details with the artist before your appointment. Mention allergies, skin sensitivities, medications or health concerns that could affect the session, and any skin condition near the planned tattoo site. The FDA notes that tattoo inks can cause allergic reactions, so ask your artist how to raise concerns about ink ingredients. You can also review the American Academy of Dermatology’s guidance on tattoo skin reactions.
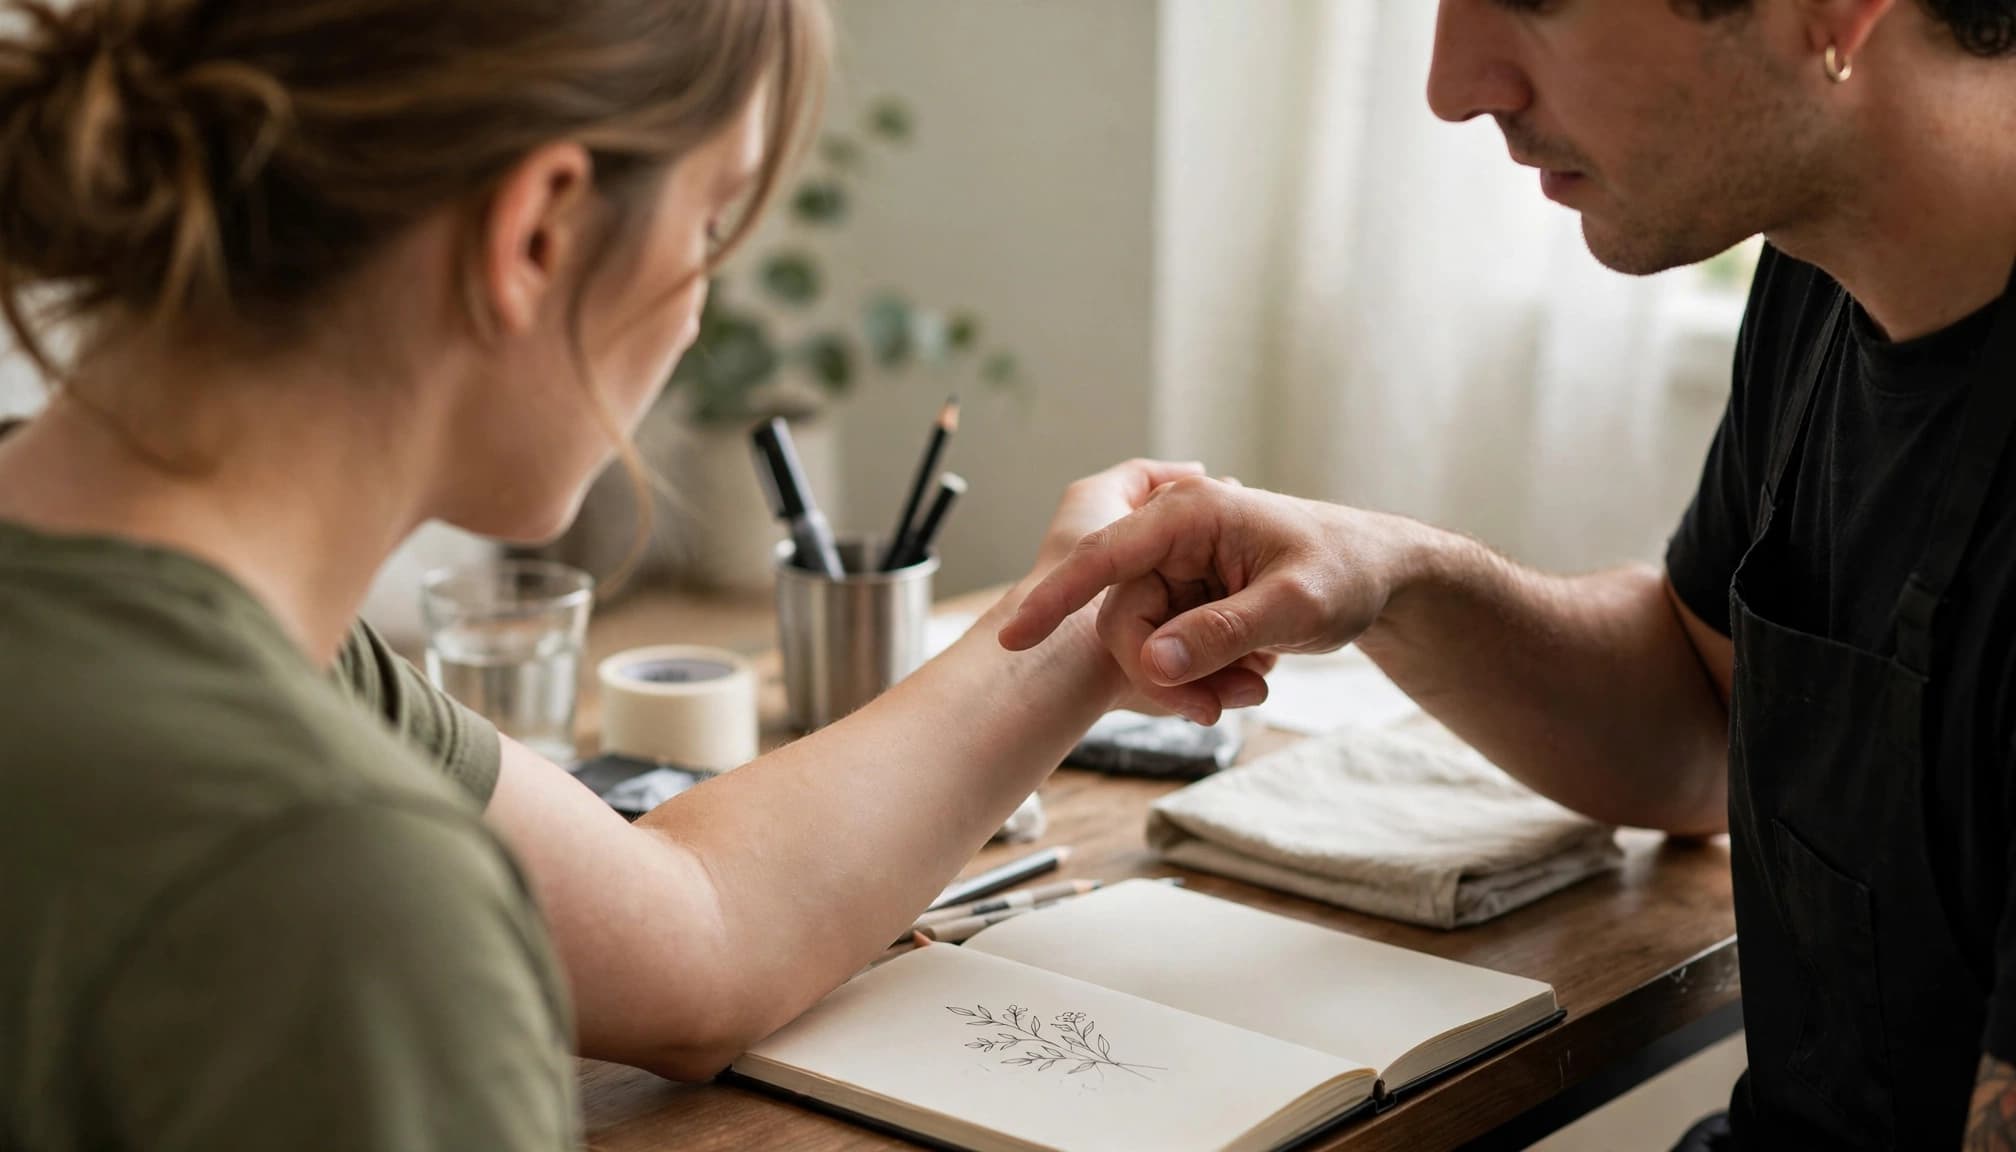
Keep the tattoo area calm, moisturized, and out of the sun
In the weeks before your session, keep the area clean and use a gentle moisturizer if your skin feels dry. Avoid sunburn and tanning, including self-tanner on the planned tattoo site. Sunburned or irritated skin can make the appointment uncomfortable, while cuts and scratches may need time to heal before tattooing.
Skip strong exfoliants and treatments that can irritate or damage the area, such as harsh scrubs or chemical peels. If a skin condition flares up, or the area develops a rash, swelling, or a wound, contact your artist and a health professional to ask whether you should postpone. A tattoo appointment can be rescheduled; damaged or inflamed skin needs time and appropriate care first.
Take care of your body the day before and the day of your tattoo
A long tattoo session can feel harder when you’re tired, hungry, or dehydrated. Plan for the appointment as you would for any stretch of focused time: rest beforehand, eat on schedule, and follow your usual health routines. Your needs may differ from another client’s, so check with your clinician and artist when you have questions.
Sleep well, drink water, and eat a full meal
Get a full night’s sleep before your appointment. In the days leading up to it, drink water regularly rather than trying to catch up all at once on the morning of your session. These habits can help you feel more comfortable and steady while you sit.

On tattoo day, have a substantial meal before you leave. A session can last longer than expected, and arriving hungry may leave you feeling weak or lightheaded. If your studio permits it, bring water and a snack for a break. People with dietary restrictions, diabetes, or other blood-sugar needs should follow their regular care plan and bring any supplies they normally use.
Skip alcohol and check before changing any medication
Avoid alcohol for 24 to 48 hours before your appointment, and don’t arrive under the influence. Alcohol may increase bleeding and can affect your ability to make clear decisions during the session. Studio policies vary, so check your artist’s preparation instructions. For example, Liquid Amber Tattoo’s preparation guidance advises clients to avoid alcohol and certain pain relievers before tattooing.
Medication questions need an individualized answer. Aspirin and some anti-inflammatory medicines, including ibuprofen, can affect bleeding, but that doesn’t mean you should stop a prescribed medication. Instead, ask the clinician who manages your care whether any change is safe, and tell your tattoo artist what you take. Also check before using over-the-counter painkillers, supplements, or topical numbing products to prepare. Products can have side effects or affect the session, and your artist may have specific rules about what they accept.
Wear comfortable clothes and pack a few useful items
Plan for comfort and easy access to the tattoo site. Clothing that stays put while you sit can make the session easier for both you and your artist. A small bag with the essentials also helps you avoid last-minute errands.
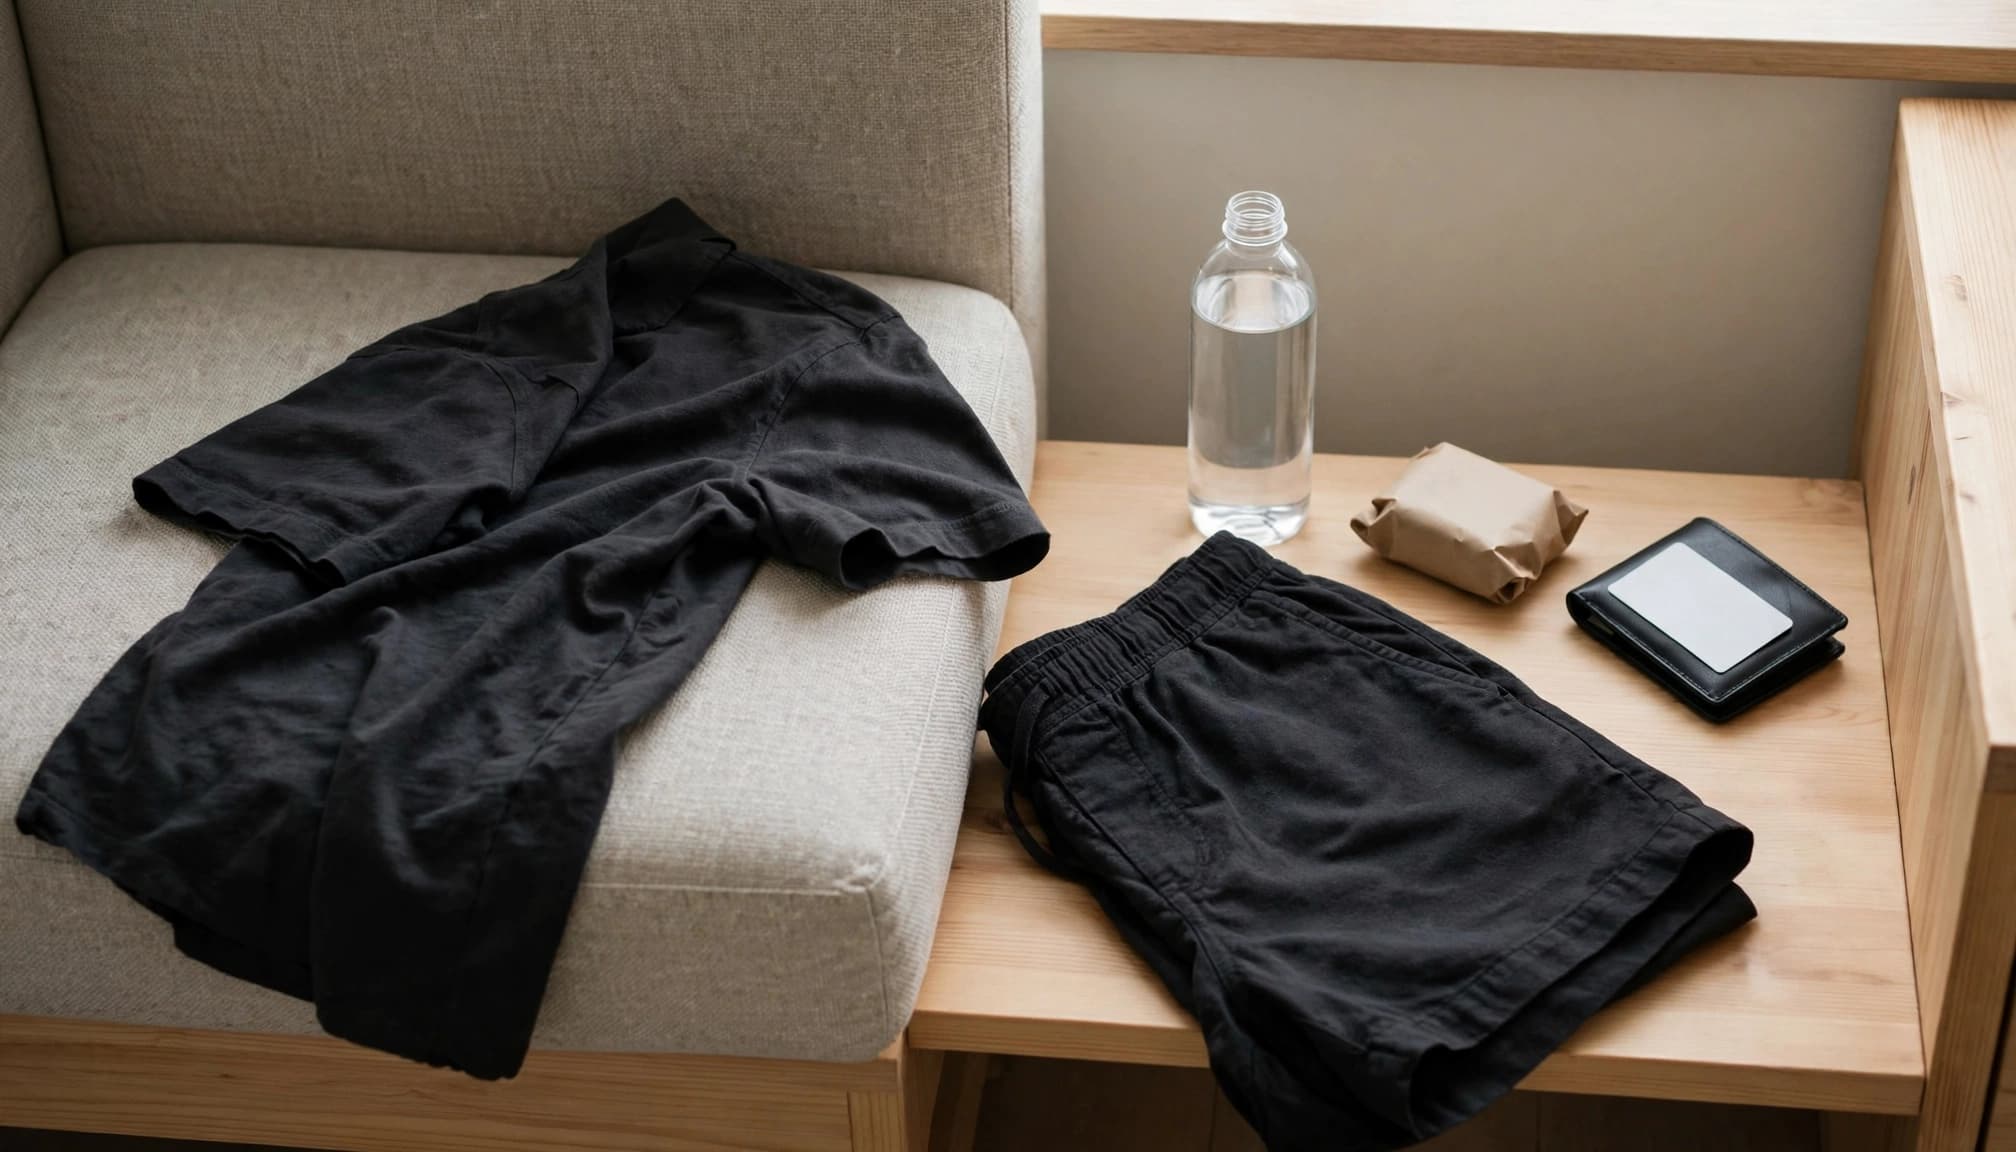
Choose loose clothing that gives easy access to the tattoo spot
Wear something loose enough to expose the area without pinching or rubbing it. For an arm tattoo, a roomy short-sleeve shirt or a button-down can work well. For a leg tattoo, choose shorts or loose pants that roll up comfortably. If the tattoo is on your back or ribs, ask the studio what clothing works best for that placement.
Dark clothes are a practical choice because ink or ointment can leave marks. Before you leave, check that the garment can stay in place while you sit or change positions. You should be able to give your artist clear access without exposing more skin than you’re comfortable with. Tattoo session clothing tips can help you plan for your specific placement.
Bring your ID, payment, water, and a small snack
Pack any required photo ID and your appointment details, then confirm which payment methods the studio accepts. Some shops take cards, while others have cash-only policies. Checking ahead can save you a detour or payment issue after your session.
For a longer appointment, bring water and a simple snack for a break, but follow the studio’s rules about food in the space. Keep your bag small and place it where it won’t block the artist or their supplies. Headphones can help you pass the time, although some studios restrict their use or ask clients to keep one ear free. Guest policies vary too, so confirm before bringing someone along.
Keep the essentials simple: ID, payment, water, and anything the studio specifically asks you to bring. Avoid packing bulky items or anything that could crowd the work area.
Know what to expect when you arrive at the tattoo studio
Studios have different check-in routines, so your appointment may begin with a quick confirmation of your design, placement, and paperwork. Your artist should explain the next steps and give you time to ask questions before tattooing starts. If anything feels unclear, speak up rather than assuming you have to go along with it.
Arrive with clean skin and let the artist prepare the area
Shower before your appointment and arrive with clean, dry skin. On the tattoo area, skip lotion, oil, and other products that day unless your studio tells you otherwise. These can leave residue that interferes with the artist’s preparation.
Don’t shave the area yourself unless the artist asks you to. Shaving can cause small cuts or irritation, and your artist can prepare the skin at the studio if needed. Studio hygiene practices vary by location, but the FDA advises clients to check that tattoo equipment is clean and sanitary. Its tattoo safety guidance also explains infection risks linked to contaminated inks and unsterile equipment.
Review the stencil and speak up before the tattoo begins
Your artist will usually place a stencil so you can preview the design on your skin. Take a moment to check its size, position, spelling, and orientation. Use a mirror to see how it looks from different angles, especially if the tattoo sits somewhere you can’t view directly.
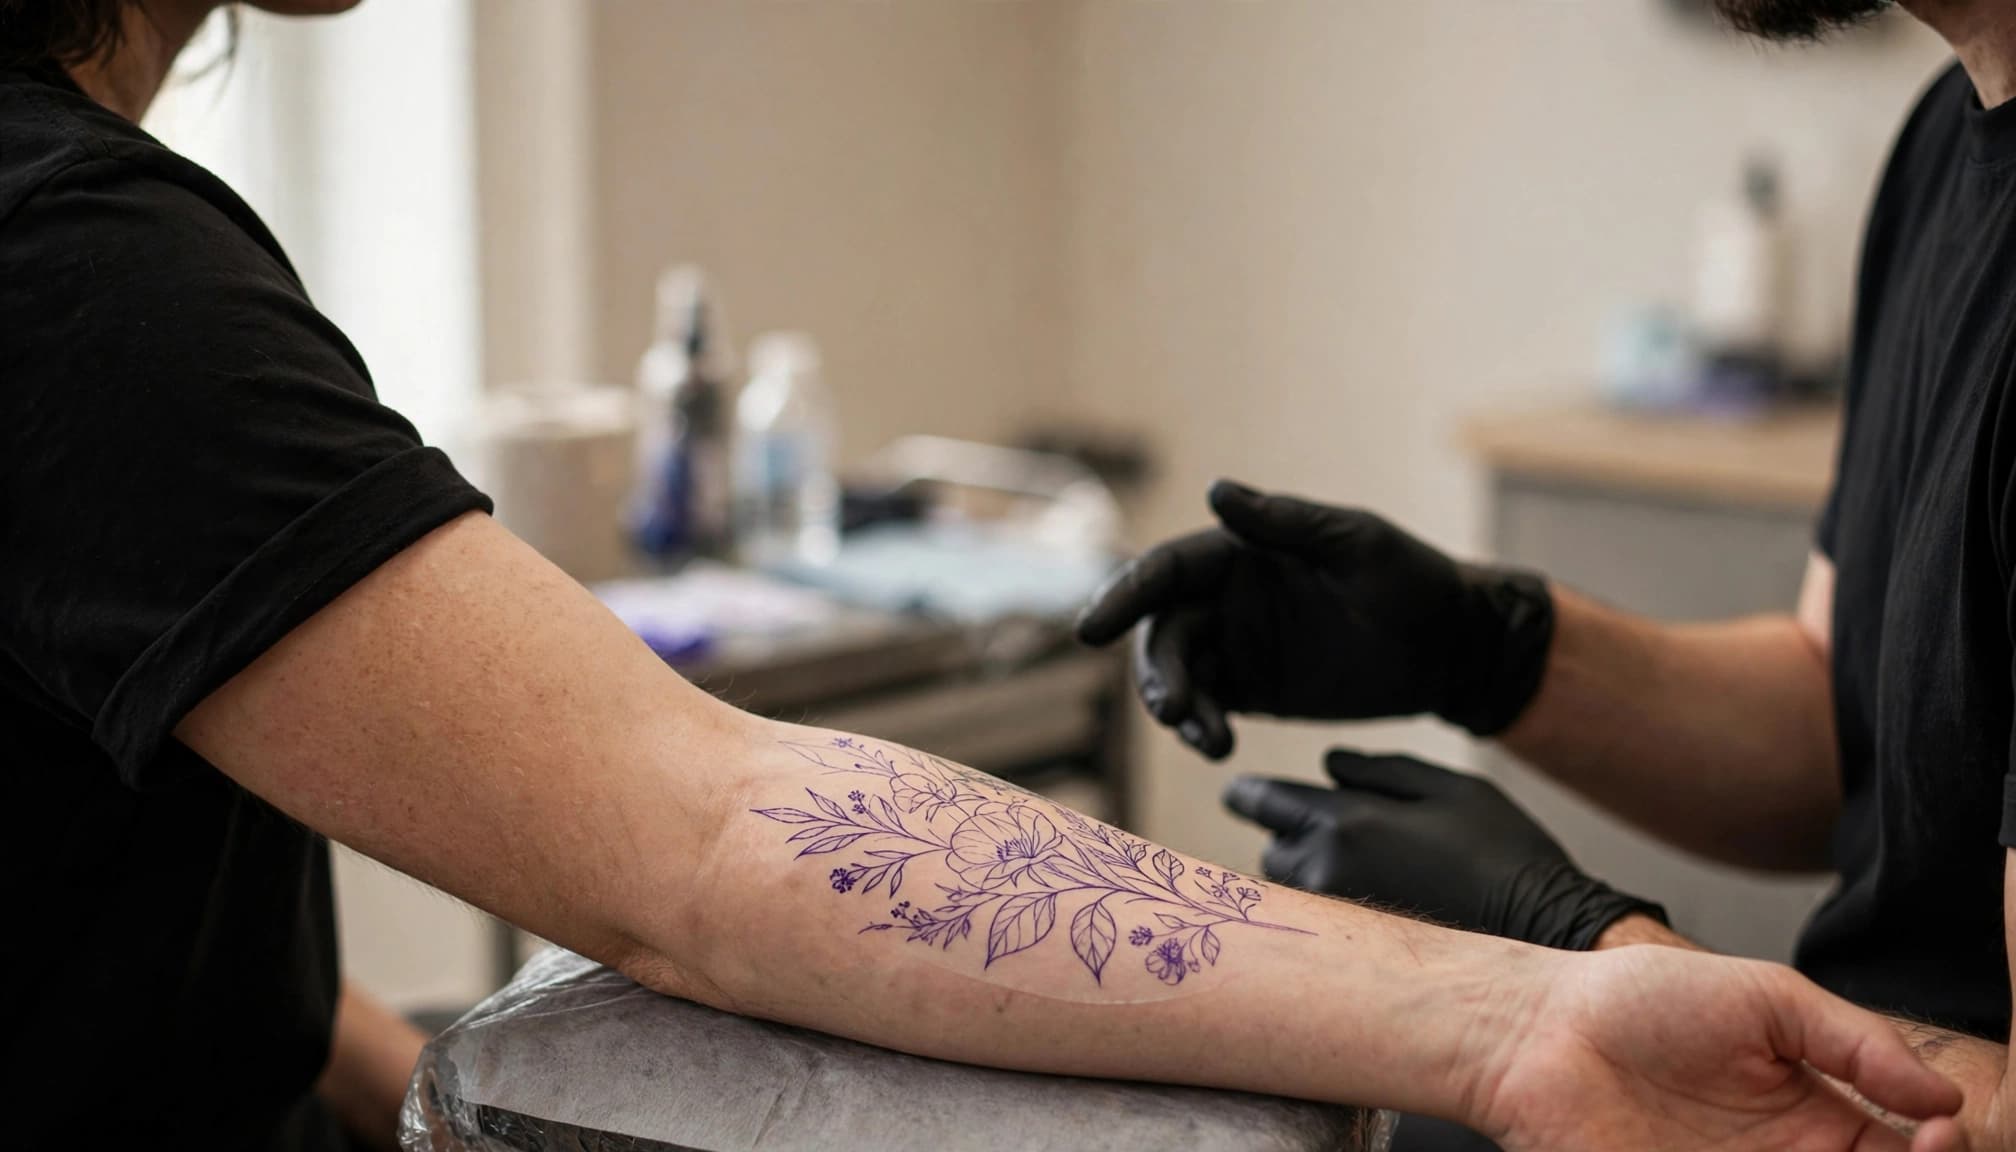
Ask for adjustments before the artist begins. A small shift in placement can change how a design looks, and correcting the stencil is much easier than wishing you had spoken up later. You can also ask the artist to explain a step or pause so you can look again. Your consent and comfort matter throughout the appointment, not only when you sign paperwork.
Use simple ways to manage nerves and discomfort
Some nervousness is common, especially if this is your first tattoo. Try slow, steady breathing and let your shoulders relax instead of tensing against the chair. If the studio allows it, listen to music, and tell your artist when you need a brief break.
Pain varies by person, body area, and session length, so your experience may not match someone else’s. Let the artist know if you feel faint, unusually uncomfortable, or need to change position. Don’t take medication or apply numbing cream for the session without discussing it first with your artist and a health professional. A quick conversation can help you understand what is appropriate and whether a product could affect your appointment.
Plan your tattoo aftercare before you leave home
Preparation continues after the appointment. Set out basic supplies and make space in your schedule to follow your artist’s care instructions without rushing.

Set up clean supplies and an easy place to rest
Before you leave, check your artist’s aftercare guidance and gather what it recommends. You may want fragrance-free soap, a clean towel, and a suitable fragrance-free moisturizer, such as a water-based lotion or cream. Keep the items together so you aren’t searching for them with a sore, freshly tattooed area.
Prepare clean bedding and loose clothing that won’t rub or stick to the tattoo. If the placement makes sleeping awkward, arrange pillows to help you rest without putting pressure on it. Your artist may apply a protective covering after the session. Covering types and removal timing differ, so follow the specific instructions you receive rather than peeling it off or leaving it on based on someone else’s routine.
Once it’s time to clean the tattoo, wash your hands first and handle the skin gently. Pat it dry with a clean towel instead of rubbing. Use only the products and routine your artist recommends, since advice can vary based on the covering and tattoo.
Make room for healing and know when to seek help
Give the tattoo time to heal before swimming, soaking in a bath or hot tub, or doing activities that cause heavy friction against the area. Avoid direct sun on fresh tattooed skin, and follow your artist’s guidance on when to resume normal activities. The American Academy of Dermatology’s tattoo care advice also recommends protecting healed tattoos with broad-spectrum, water-resistant SPF 30 or higher.
Plan a few days with fewer tasks if you can, especially if the tattoo sits somewhere clothing or movement may irritate it. Keep clean clothes handy, and avoid picking, scratching, or rubbing the healing skin. Your artist can answer routine aftercare questions, but worsening symptoms call for medical advice.
Some tenderness and mild redness can occur after a tattoo. However, contact a health professional promptly if redness or swelling worsens, the area feels increasingly warm, pus appears, you develop a fever, or you have a severe skin reaction. These symptoms need medical attention rather than a change in products based only on guesswork.
Conclusion
A smoother tattoo day starts with simple preparation: arrive rested, hydrated, and well-fed, protect the tattoo area from sun and irritation, and wear comfortable clothes that give your artist access. Plan for aftercare before you leave home, too, so you can follow the care instructions without scrambling.
Most importantly, communicate clearly and speak up if you have a question or concern. Follow your artist’s directions, and make sure you feel comfortable with the design and placement before the session begins.
Save pin for later


- Saniderm Healing: Wear Time, Fluid, and Aftercare - September 25, 2026
- How to Choose the Right Tattoo Size for Your Design and Skin - September 25, 2026
- How to Slow Tattoo Fading: Healing Care and Sun Protection - September 25, 2026
Leave a Reply